Friday, March 30, 2012

Spring is here!


Yes so it has finally arrived.. in a blaze of YELLOW!! It's so crazy. I don't care for these flowers so much on their own but maybe with more vegetation they won't be so unappealing to me. I'm trying to decide on what, if anything, I should plant here. It's hard to see but the stairs lead up to the street and our driveway which wraps around and down on the left.

A family friend suggested Violets, so that is a possibility. Right now we have on the left side of the arbor Orange Honeysuckle (At least I remember it being orange and me saying 'ewww' heh) and thought DH tried to plant some Red Lilies on the left of it, I think the deer got to it before it could really take root. And I'm still attempting to grow Orange and yellow Nasturtiums on the right of the arbor. Oh yes and we have a great supply of Poison Ivy. woohoo...

I'd really like something RED to attract the hummingbirds. Whether it's a red chair or bird feeder or maybe red flowers.. I'm not sure yet. Somewhere in our garden which is a lot more than this picture, as we live on the side of a mountain, we will of course have a bunch of herbs. The Basil is already beginning to grow (pics in a future post, I promise). And I'll bring Oregano, Parsley, Cilantro and Rosemary into the equation as well. Fresh parsley would be awesome! And of course we're looking to grow some peppers. Bell peppers and spicy jalapenos.

Other things I'm interested in adding to the lot:

  • A, Jewelweed - Spotted Touch Me Not (Impatiens capensis) 
  • P, Candytuft (Iberis umbellata)
  • A, Alyssum - Royal Carpet (Lobularia maritima)
Of course I'd prefer perennials but I'm keeping my options open. Any thoughts as to what I should include? Oh, I'm looking for a vine too. I've got my eye on a night blooming Moonflower (A). 


Here are my tiny envelopes! I've decided to just throw them all together willy nilly instead of having six of one kind and half a dozen of another. You can see them listed here

That's all for now. The boy is teething and getting depressed. It's really making it hard for me to get ANYTHING done. Happy Friday!!

Xo, Bri

Friday, March 23, 2012

DIY Photo Studio Light Box Tutorial


If you've ever seen those awesome Etsy photos of items just floating on a bed of white and wondered how the F did they do that? Your mouth agape in amazement. Well I'm here to show you how to go from alright to magnificent ^_^ Take for instance this photo at right of my sons first pair of Chucks. That's Chuck Taylors or Converse for those who don't know. This picture isn't terrible, for an iPhone photo anyhow ( I REALLY NEED A CAMERA). But when you place them into a photo light box thingamajig then, presto change-o:
they are suddenly one of the cutest pair of shoes you've ever seen. 


So let's start shall we :) First let's gather our supplies**:


  • One sturdy box larger than 12x12x12 if possible (Free if you've got one laying around)
  • Tape of some sort, preferably packing tape or duct tape (Also free if you can find it)
  • Tissue paper x 3 depending on how big of a box you've got (you guessed it, free)
  • An exacto knife, box cutter. I will not be held accountable for your dangerous stunts. Go buy a quality cutter!!! (Mine was probably $12 but I had a gift card = Free)
  • White posterboard and any other colors you'd like, though you should stick to black or white at first. NO crazy patterns. (This was a splurge. $0.30 a piece and I got two *cringe*)
  • And a cute little something you've got laying around (FREE)
  • Oh and you should also use: a ruler, and marker, or pen or pencil. 

Here we go. Not all steps are pictured, my apologies.
 PLEASE READ ALL STEPS BEFORE MAKING YOUR OWN ^_^ 
Also, prior to beginning, turn off all fans in your general area so as not to disturb the tissue paper. Close the windows.  And make sure your child is down for a nap or happily occupied in a pack-n-play or something. Exacto knives are no joke!!

Step 1.  Figure out which part of the box you'd like to have as the bottom. Some people would like to leave on the top flaps so as to let in or keep out some light. Me I cut those suckers off the first box I made. Anyhow...

Step 2.  Use your ruler and marker to measure in approximately 1.5" or 2" on all sides of the top and sides of the box. Then cut out these rectangles. It should look like this:


Step 3. Tissue paper time! Cut three pieces to fit these windows you've just cut out. And tape them ever so carefully. Not like I did, do a better job than that!


Step 4. Create a thin opening on the far end of the top side of the box for your posterboard to go down. And if you're crazy anal about raw edges then you'll tape up the cuts so the posterboard will go in easier.  


Step 5. Cut the posterboard to fit and slide it in!


And then, Step 6. Place your cute little something inside and take a couple pics. 


There's an ugly shadow behind him when it should be below him, BUT I didn't have any lights on AND the sun was behind me so... If you want to maximize the awesomeness that comes with this then you should use lights on either side and on top and you can filter it how you see fit ^_^

Here's the finished product pic:


What do you think? I could have gone to a site like fotofuze.com and whitewashed the background but this is how it looks now. Unedited. 

That's all folks, and it cost me a whopping $0.60 + tax. Ouch. Don't tell DH!! So, questions? Comments? Concerns?

Friday, March 16, 2012

Spring Cleaning

Please pardon my absence. I've been busy cleaning.. and prior to that setting up a cleaning schedule for myself. Before this schedule I never got anything done. I'd do a little here and a little there and still nothing was happening. SO, I decided to get down to business. Here's how I've got it looking so far


  1. Kitchen
  2. Bathroom (upstairs) and dust & sweep
  3. Bathroom (downstairs) and vacuum & mop
  4. Bedrooms and linens
  5. The Dining room, and Living room tables
  6. Windows and Mirrors and The CAR!
  7. Relax and hope nobody messed up the darn house!!
The reason they are numbered instead of listed as days of the week are because DH isn't off on the weekends so I'll just get things in when they fit. Today is day three, I should be downstairs cleaning his bathroom... I do have other commitments too though! Haha, I'll get to it in a bit. Other things I also like to fit into the day are taking a walk with the boy-o and taking a breather at the park if I can. Also working on my Etsy shop!! Gotta take time out for me. 

Reading: I finished The Help and liked it very much. And yesterday (Day 2) I cleaned the entire bathroom and wasn't bored or feeling like complaining, because I was listening to The Hunger Games on my phone!! I finished the whole book yesterday and that, is, amazing!! I'll start book two (Mockingjay) here today and maybe finish it tomorrow. Then next will be book three (Catching Fire) and then maybe The Little Giant Of Aberdeen County. I've got all these books downloaded on my phone from my local library using the Overdrive Media app on my iPhone. I AM SO THANKFUL. This will keep me sane I believe..

Also keeping me sane are my Etsy Treasury Team members. They are so supportive. It's wonderful. I'd still be moping and unproductive without them. I can't believe I've been on Etsy for 3 years now and have barely made a dent. Shame on me. But thanks to them and my hard work I've managed to boost my views and sales. Awesomeness!!

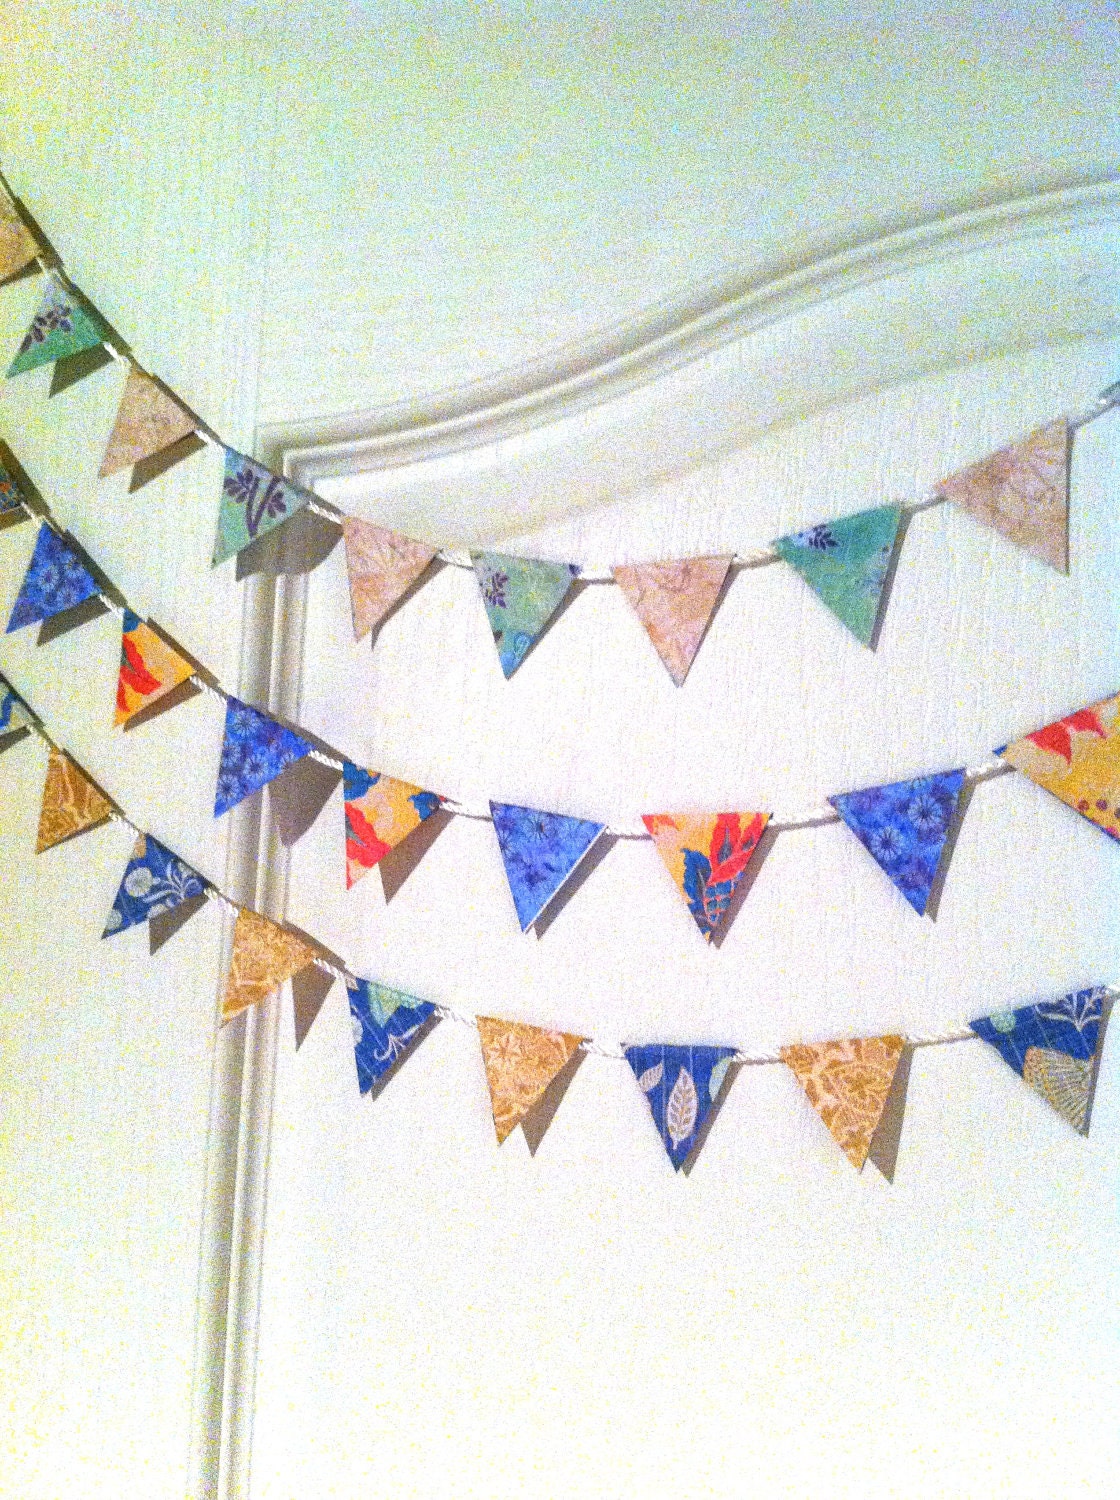
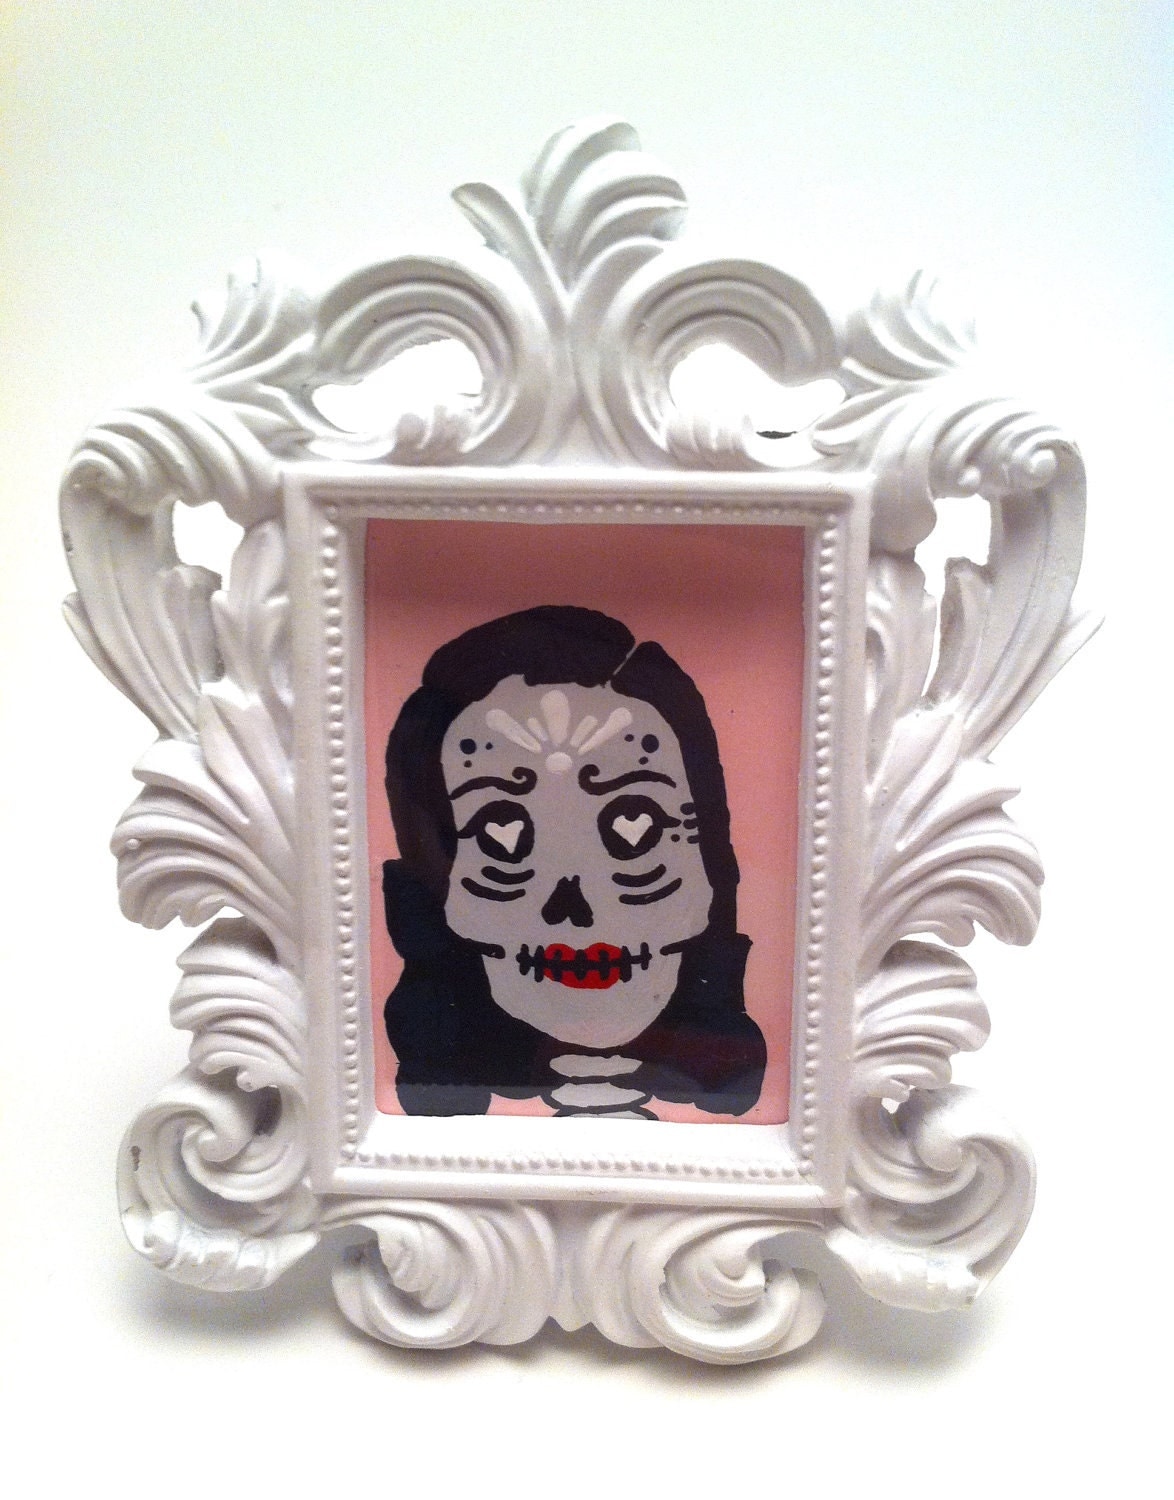
New Items: This last week I added to the shop a listing for 5 DIY mini buntings. They would look so cute in a cubile. I also added a Dita Von Teese inspired sugar skull painting. Isn't she a bute?!?

I'd love to also make some cubicle party in a bag/box type of deal. I think it's would be nice. A card, a couple balloons, a bunting, a candle. No confetti though. That stuff is a mess. 

Oh and this week I made an attempt at a Pie for Pi day 3.14. For dinner we had pizza and for dessert I made this Lemon Pineapple Pie. it was good, I liked it. But I guess DH only likes Pizza Pie, he said he prefers cake... So I won't feel bad eating it all then!! It was my first time doing the basketweave and it came out nicely. Next time I will do pineapple tidbits or crushed instead of chunks. Too chunky. Also I will be sure to dust the top with sugar. it added a sweet crunch. Lovely.


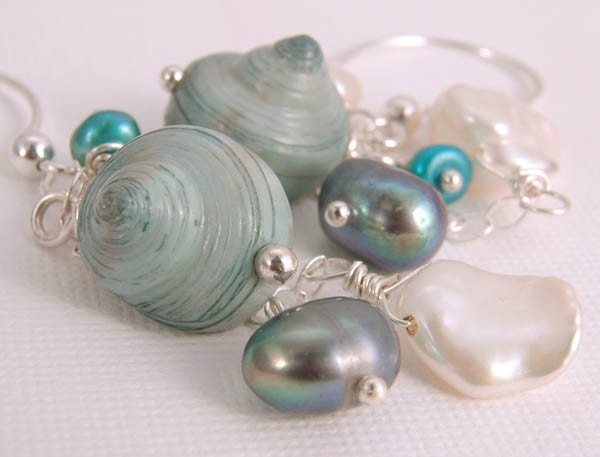
So now I know I probably haven't said much and I'm still going to say good bye. And I will leave you with my latest treasury I've called "Life is a beach". Please click on the link and check it out. In the meantime here is a teaser of one of the awesome items featured there:


You can find these beautiful earrings here at Lindesigns shop on Etsy. Aren't pearls gorgeous?!?!

I'm off to get to work. It's Day three and I've got plenty to do. I'm also putting away my maternity clothes. No way I ever want to wear that size again so SAYONARA clothes!!

Xo,
Bri


Tuesday, March 6, 2012

Tuesday Blahs

Well I meant to post yesterday but that obviously didn't happen :( My apologies. So let's do a quick recap of the last week.


Oh there's this Home Accessories shop right across from my post office in Southfields. I've always just driven past it but last week I stopped and checked it out. Oh My goodness their merchandising is a dream. It's as though people were having a tea party or something and just got up and left. Thats just upstairs though. The store is called Jasmine. They've got a bunch of brightly colored gorgeous items for sale (not cheap mind you!) And it's was an inspiring eye opening visit. I'm glad I stopped in.


I finally put my sons clothespin wreath up in his room and now it is holding his cards. That de-clutters the room a bit ^_^.  Oh yes, the GIVEAWAY. Congrats to Jennifer Landers who won the mini envelopes from last weeks blog. For those of you interested in doing Facebook giveaways you may want to look into the Sweepstakes App for your business page. It increases your "likes" if you do it correctly and follow all of FB's many many confusing guidelines.


I've also brought in a new line of envelopes. These are bigger. Able to fit a gift card or business card. They come with a note card though. My favorite are the ones with the tiny birds.

These pictures are dark but you can view some of the envelopes here on my shop page.


In other news, My wonderful DH was tidying up the house a bit and smashed a ruler or something into the side of my expensively hand constructed light/studio box... AND THEN the delightful DS decided to join in and stuck his hand through the top... THANKS GUYS -___- So in a future blog I'll show you how I made it, and no I was being dramatic. It only cost me $2 to make because I needed to buy posterboard. Otherwise I just used everything else I already had in the house.  In the picture you can see I can't use this thing anymore, I'd have to replace the tissue paper, which isn't a problem but I've been meaning to make a larger one anyhow and so here's an excuse.


What do you think of my mini envelopes??

Alrighty then, lastly I shall say a few more things. 1, I've finished Jodi Picoult's Keeping Faith. I give it 4/5. and now I'm reading The Help. I've been meaning to get it and then didnt want to spend the money so looked to get it at the library but that was more work, so what did I do? I downloaded it from the library onto my phone! How cool is that!?!?
2. DH finally put PhotoShop on my dang laptop!! YAY!! Now I can bring back my digital items to my shop! I LOVE IT!!
3. CHECK OUT THIS TREASURY!! I just made it and It's called Martha Eat Your Heart Out. In dedication to one of my favorite women in the entire world, Martha, You rock!
Here's a pic of one of the items which can be purchased here:

Awesome stuff in their Etsy shop. Thank you all for reading!